



Painting window frames, whether indoors or out, is a transformative project that can refresh the look of a room or enhance your home’s curb appeal. While seemingly small, the precision and care taken in this task significantly impact the overall finish. Achieving a smooth, durable, and clean result requires more than just applying paint; it demands careful preparation, the right tools, and an understanding of proper technique. Selio Silva Painting approaches every detail with expertise, ensuring that even the intricate work of painting window frames meets the highest standards of quality.
Refreshing your window frames with paint can dramatically improve your home’s appearance. This comprehensive guide covers everything from necessary tools and meticulous preparation to application techniques and maintenance tips for a long-lasting, flawless finish.
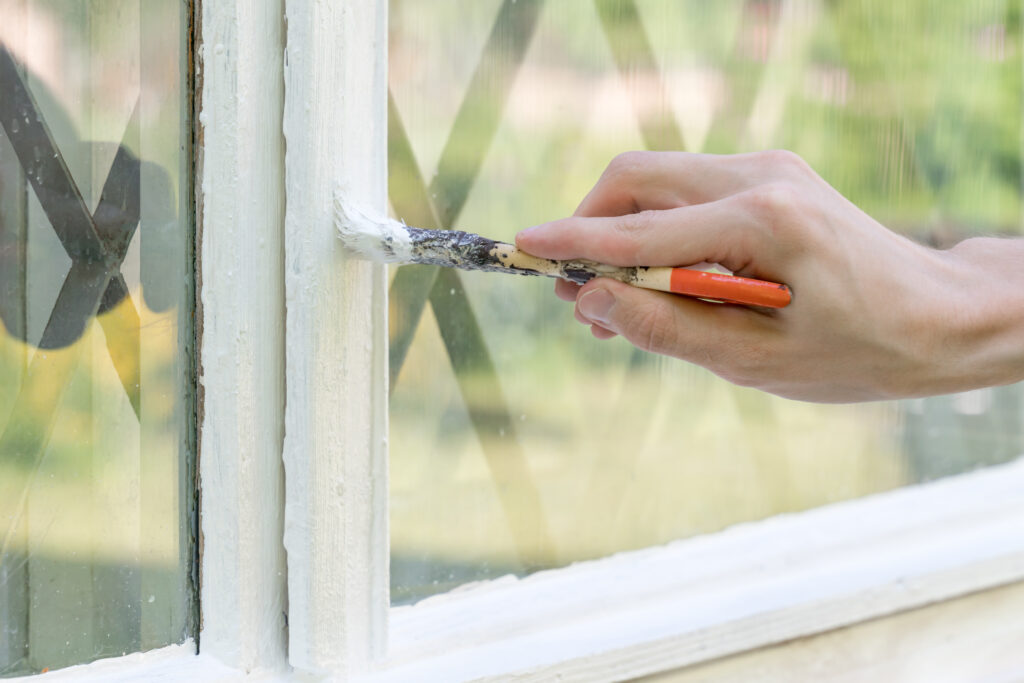
Tools and materials you’ll need
Having the right tools and materials ready will make your window painting project smoother and more efficient.
- Cleaning Supplies:
- Mild detergent or degreaser
- Buckets
- Sponges, scrub brushes, or rags
- Preparation & Repair:
- Paint scraper or putty knife (for old, peeling paint)
- Sandpaper (various grits: 80-grit for rough spots, 120-150 grit for general sanding, 180-220 grit for fine finishing)
- Sanding blocks or detail sanders
- Wood filler (exterior-grade for outdoor frames)
- Caulk gun and paintable caulk (acrylic latex caulk with silicone for windows)
- Utility knife
- Tack cloth or damp cloth for dust removal
- Protection:
- Painter’s tape (1-inch to 2-inch widths, high-quality for sharp lines)
- Plastic sheeting or drop cloths
- Painting:
- Primer (specific to your frame material – see “Choosing the Right Primer and Paint” in previous content)
- Paint (specific to interior/exterior and frame material)
- Paint brushes: High-quality angled sash brush (1.5-inch to 2.5-inch is ideal for detail work and cutting in), small straight brush for flat areas.
- Paint mixer/stir stick
- Paint can opener
- Painter’s five-in-one tool
- Paint tray (optional for brushes)
Prepping the window area for painting
Thorough preparation is the most critical step. It ensures paint adhesion, a smooth finish, and protects surrounding areas.
- Clean Thoroughly:
- For interior frames: Wipe down frames with a mild detergent solution to remove dirt, grease, and grime. Rinse with clean water and let dry completely.
- For exterior frames: Use a scrub brush and a solution of mild detergent or an outdoor cleaner to remove dirt, mildew, and grime. For heavy mildew, a solution of 1 part bleach to 3 parts water can be used (rinse thoroughly afterward). Use a hose to rinse all residue. Allow ample drying time (24-48 hours).
- Inspect and Repair:
- Scrape/Remove Old Paint: Use a paint scraper or putty knife to remove any loose, peeling, or bubbling paint from the frames. For exterior frames, ensure all failing paint is removed.
- Fill Holes and Cracks: Use exterior-grade wood filler for wooden frames to fill nail holes, dents, or small cracks. For metal frames, use an appropriate metal filler if needed. For vinyl, use a vinyl-repair compound for significant damage. Allow filler to dry completely.
- Address Rot (Wood Frames): For exterior wood frames, carefully inspect for any signs of rot. Remove all rotted wood; if extensive, consider professional repair or replacement. Small areas can be treated with wood hardener and filler.
- Caulk Gaps: Apply a thin bead of paintable caulk to seal any gaps between the window frame and the wall, or between different parts of the frame (e.g., where the frame meets the sill). Smooth the caulk with a wet finger or tool immediately. This creates a clean line and seals against drafts.
- Sand the Surface:
- Bare Wood/Repaired Areas: Start with 80-120 grit sandpaper to smooth rough spots and blend filler.
- Previously Painted/Slick Surfaces (Vinyl, Metal): Lightly scuff-sand the entire surface with 180-220 grit sandpaper. This creates a “tooth” for the primer to adhere to, especially important for glossy or slick finishes.
- General Sanding: Use 150-180 grit for general smoothing and final prep.
- Dust Removal: After sanding, thoroughly vacuum the area, then wipe down all surfaces with a tack cloth or a slightly damp cloth to remove all sanding dust.
- Mask Off:
- Glass: Carefully apply painter’s tape to the edges of the glass panes, pressing down firmly to create a crisp, tight seal.
- Surrounding Areas: Use painter’s tape and plastic sheeting or drop cloths to protect the wall, trim, windowsill (if not painting), and floor/ground from paint drips and splatters.
Step-by-step instructions by frame type
While general principles apply, specific window frame types have nuances in painting.
General Painting Order (for all frames): Paint the window sashes (movable parts) first, then the fixed frame, and finally the sill and exterior trim last. This helps avoid leaning on wet paint.
1. Wooden window frames (interior & exterior)
- Prime: Apply a thin, even coat of the appropriate wood primer (exterior primer for outdoor frames) to all areas you plan to paint. Pay attention to end grain on sills, which can be very absorbent. Allow primer to dry completely.
- Light Sand (Optional but Recommended): After primer is dry, lightly sand with 220-grit sandpaper for an ultra-smooth finish. Wipe off dust with a tack cloth.
- First Paint Coat: Apply the first thin, even coat of your chosen interior or exterior acrylic latex paint. Use an angled sash brush for cutting in lines against the glass and corners. Use a small straight brush for wider, flat areas.
- Dry & Second Coat: Allow the first coat to dry completely (check manufacturer’s recoat time). Apply a second thin coat. Two thin coats are always better than one thick one.
- Remove Tape: Carefully remove painter’s tape while the paint is still slightly wet (but not tacky) for the cleanest lines. If paint is fully dry, score the edge of the tape with a utility knife before pulling to prevent peeling.
2. Metal window frames (interior & exterior)
- Prime: Apply a specialized direct-to-metal (DTM) primer or rust-inhibiting primer. Ensure even coverage. Allow to dry completely.
- First Paint Coat: Apply a thin, even coat of your chosen exterior or interior metal-compatible paint (often an acrylic latex or specialized DTM paint that can act as a topcoat).
- Dry & Second Coat: Allow to dry fully. Apply a second thin coat.
- Remove Tape: Remove painter’s tape as described above.
3. Vinyl window frames (interior & exterior)
- Prime: Apply a specialized adhesion primer designed for vinyl/plastics. This is crucial for proper bonding. Allow to dry completely.
- First Paint Coat: Apply a thin, even coat of your chosen 100% acrylic latex paint (ensure it’s “vinyl-safe” for exterior applications).
- Dry & Second Coat: Allow to dry fully. Apply a second thin coat.
- Remove Tape: Remove painter’s tape while paint is still slightly wet.
- Crucial Note for Exterior Vinyl: As stated in previous content, only paint vinyl frames a color lighter than or the same shade as the original. Dark colors absorb too much heat and can warp the vinyl.
Tips for avoiding drips and streaks
Achieving a professional-looking paint job means no unsightly drips or streaks.
- Load Brush Properly: Don’t overload your brush. Dip only about one-third of the bristles into the paint. Tap off excess on the side of the can or tray.
- Thin Coats: Always apply two (or sometimes three) thin, even coats instead of one thick coat. Thin coats dry faster, adhere better, and are much less prone to dripping.
- Consistent Brush Strokes: Use smooth, even strokes in one direction. For sashes, paint with the grain of the wood if applicable.
- Work Top to Bottom: Start painting at the top of the window frame and work your way down. This allows you to catch any drips as you go.
- Watch for Runs: Keep an eye out for drips or runs as you paint. If you see one forming, quickly smooth it out with your brush before it dries.
- Feather Edges: When painting large flat sections, feather the edges of your strokes by lifting the brush slightly at the end of each stroke.
- Don’t Overwork the Paint: Once the paint starts to set (gets tacky), stop brushing that area. Overworking paint can create brush marks and an uneven finish.
- Allow Proper Drying Between Coats: Rushing the drying process between coats can lead to paint pulling, bubbling, or streaking.
How to maintain painted window frames
Once your window frames are beautifully painted, regular maintenance will ensure their longevity and keep them looking their best.
- Regular Cleaning:
- Interior: Wipe down frames periodically with a damp cloth and mild soap to remove dust and fingerprints.
- Exterior: Clean annually with a mild detergent solution and a soft brush or sponge to remove dirt, grime, and mildew. Rinse thoroughly.
- Inspect Annually: Once a year (preferably in spring or fall), inspect both interior and exterior frames for any signs of wear:
- Chipping, peeling, or flaking paint.
- Cracks in the paint or caulk.
- Signs of mildew or algae growth.
- Loose or deteriorating wood (for wood frames).
- Prompt Touch-Ups: Address any chips, scratches, or small areas of peeling paint immediately. Lightly sand the affected area, clean, and apply touch-up paint. This prevents moisture intrusion and stops problems from spreading.
- Re-caulk as Needed: If you notice any cracked or failing caulk around the frames, remove the old caulk and apply a fresh bead of paintable caulk to maintain the seal and neat appearance.
- Manage Moisture: Ensure proper drainage around exterior windows and that gutters are clean. Address any leaks around windows promptly to prevent moisture damage to frames.
- Reapplication Schedule:
- Interior: Painted interior frames can last for many years (5-10+) before needing a full repaint, depending on wear and tear.
- Exterior: Exterior frames are exposed to harsh elements. Expect to repaint every 5-10 years, depending on climate, sun exposure, paint quality, and initial prep. Signs of significant fading, chalking, or widespread peeling indicate it’s time for a repaint.
By following these detailed steps for preparation, application, and maintenance, you can ensure your painted window frames remain a beautiful and protective feature of your home for years to come. For large-scale projects or when you desire professional precision, Selio Silva Painting is equipped to handle all your interior and exterior painting needs.